Let’s get into some holiday spirit, and at the same time, have some fun with ribbons! Here is a fun, crafty project to make your season bright this year. All you need is some imagination and, of course, some ribbons. So, let’s get started on these fun ribbon stockings!

Step One: Ribbons for the stockings
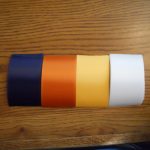
Yes, the first step is to make sure that you have enough ribbons. So first, determine how many stockings you are going to make. This number will help you figure out how much ribbon you need. For each stocking, we used about three feet of four different colors (12 feet total). You also need to determine which ribbon you will be using. We used leftover strips of our two inch badge ribbon material. The colors we chose are Deep Gold, Arctic White, Navy and Orange.
Step Two: Gather all of your supplies
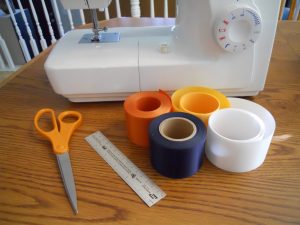
While ribbons are the base supply for this project, you will need several other things as well. A sewing machine is a must for this project. While you can use a needle and thread and sew these by hand, a machine will significantly speed up the process. You will also need a ruler, fabric scissors and some backing for your stockings. You can use a stocking pattern or grab some cheap felt and draw your own. We used a premade felt stocking that we picked up at a dollar store.
Step Three: Start measuring
This step comes in parts. First, we measured our ribbons into six inch pieces. Then we folded these pieces in half and cut them into three inch pieces. You can combine this into one step and cut them immediately into three inch pieces. But we found that by wrapping the ribbon around a six inch ruler, it saved some time.
The next part of this step is to make sure that your three inch strips have straight edges. We tried to work with the original edge but found that straight edges worked better. Yes, this process is tedious but well worth it. You can use the ribbon for accuracy, but that is not completely necessary. We mostly just eye balled it. However, the edges must be as straight as possible so that all ribbons will line up as you are sewing them together. Without being straight, the ribbons can end up either not being sewn properly or being crooked.
Step Four: Figure out your layout
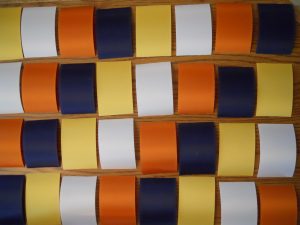
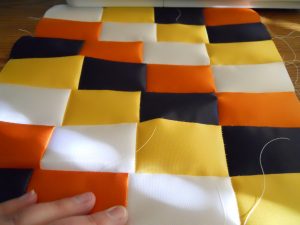
Once you cut your ribbons into approximately three inch pieces with straight edges, define your layout and mock it up on a flat surface. Now is the time to be creative! And, laying out the ribbons before you start sewing will allow you to see which colors will be touching. Doing this will help you see and maintain your pattern.
We wanted to make sure there was a pattern for our stockings. So, we chose an alternating look so that gold would not touch gold, orange would not touch orange, etc. (Some of the finished stockings could have used a little more time during this step to make sure this happened.) Your layout will be dependent on the size of your stockings. The size we have fit 11 rows with four pieces each. Now that you have a mock up of what the finished product will look like, you can start sewing. Make sure you line up the three edges flush before starting your stitching.
Step Five: Start sewing your stockings
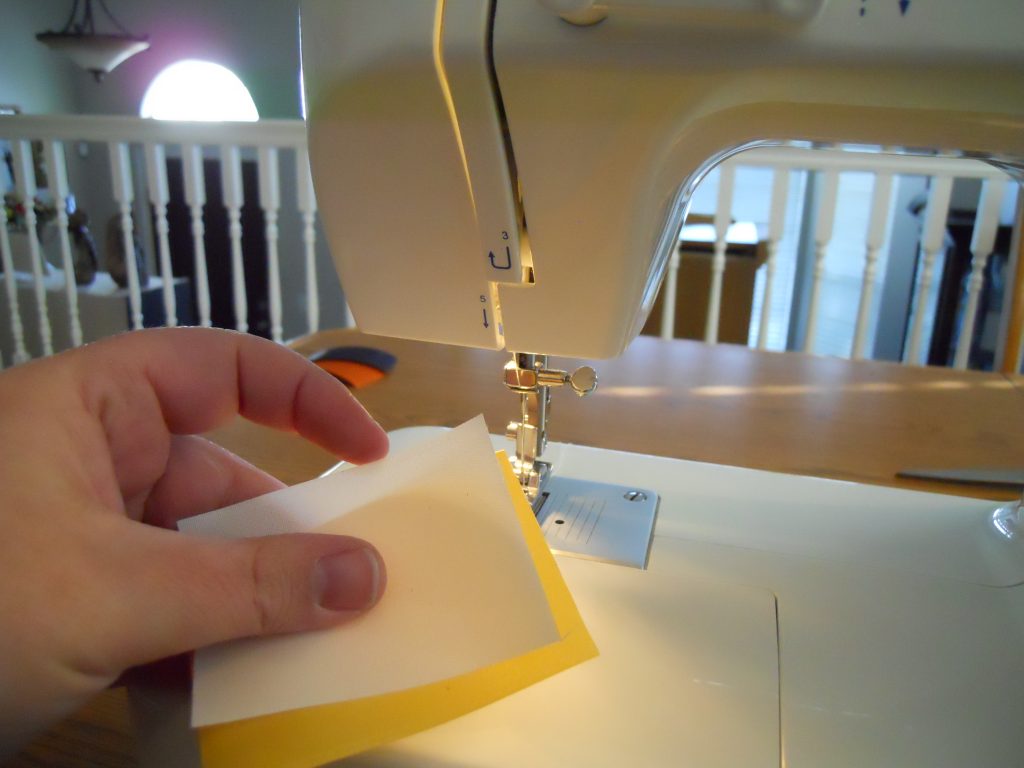
While sewing, it is crucial to watch which colors you are working with and go slowly. Make sure you remember which colors attach together. We used a simple, straight stitch to connect all of the pieces. You also want to make sure that the stitch is as close to the edge as possible, but keep it uniform so that your ribbons will lay flat. Then, start piecing your stocking together. Don’t worry about dangling threads as you can trim them later.
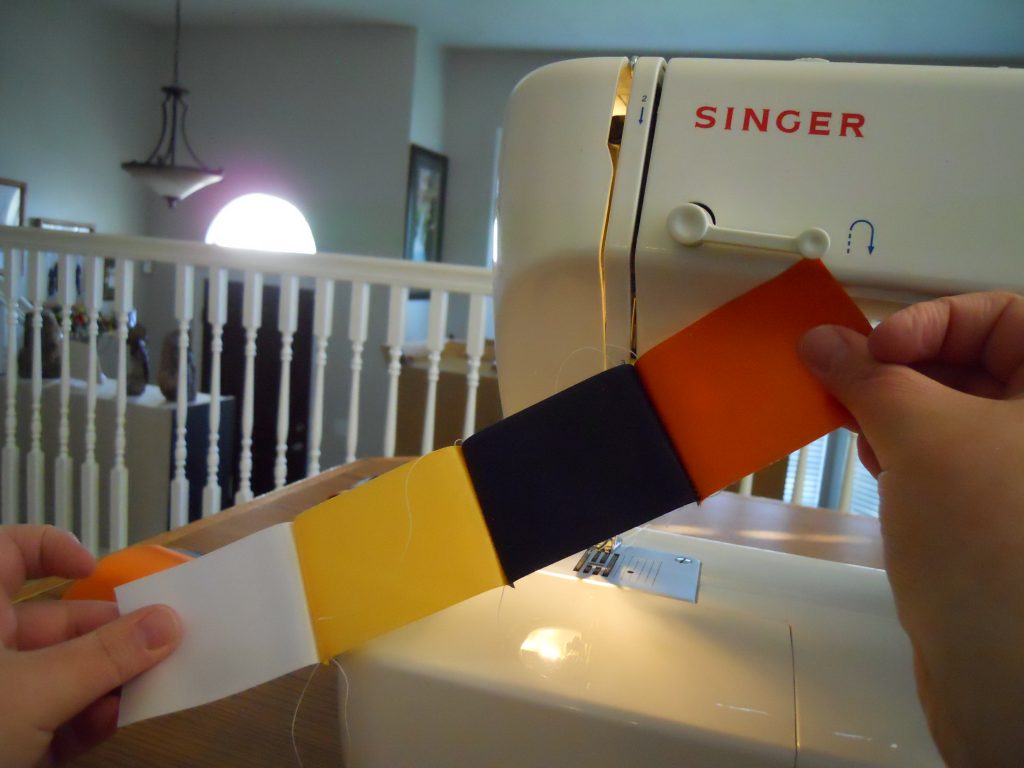
Sew together the first four ribbons and double check your pattern to make sure you did not switch anything around. Then work on your second chain checking to make sure the colors are in order. Now that you have two chains, you need to attach them. Again, make sure that your color scheme is not changing. It is important to continually watch your colors to make sure that you are not switching things around. Repeat this process until you have all of your ribbons stitched together.
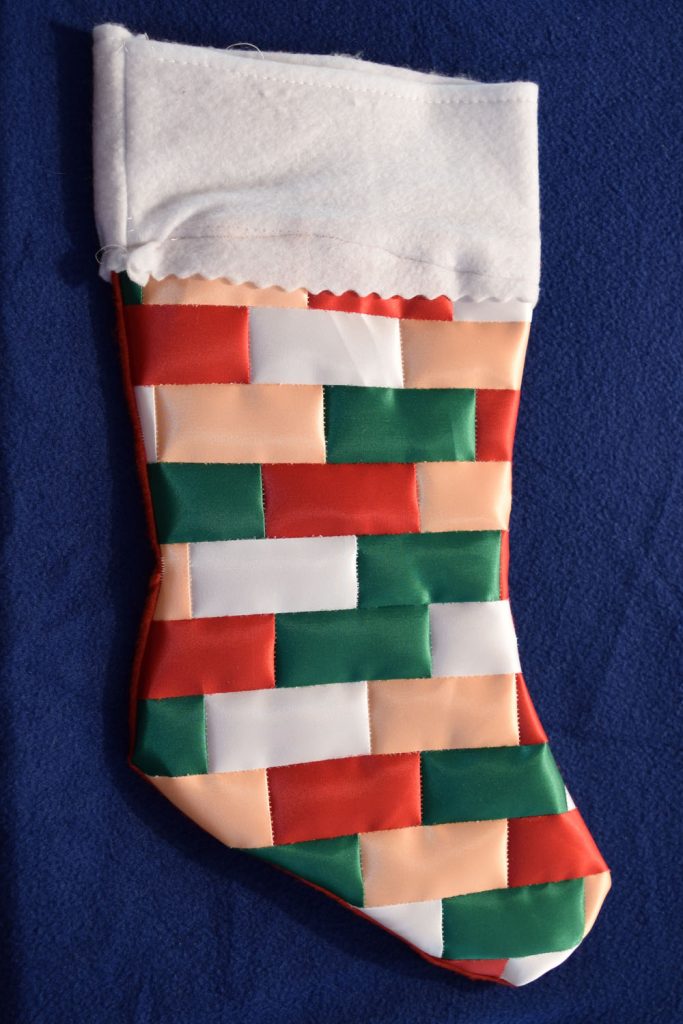
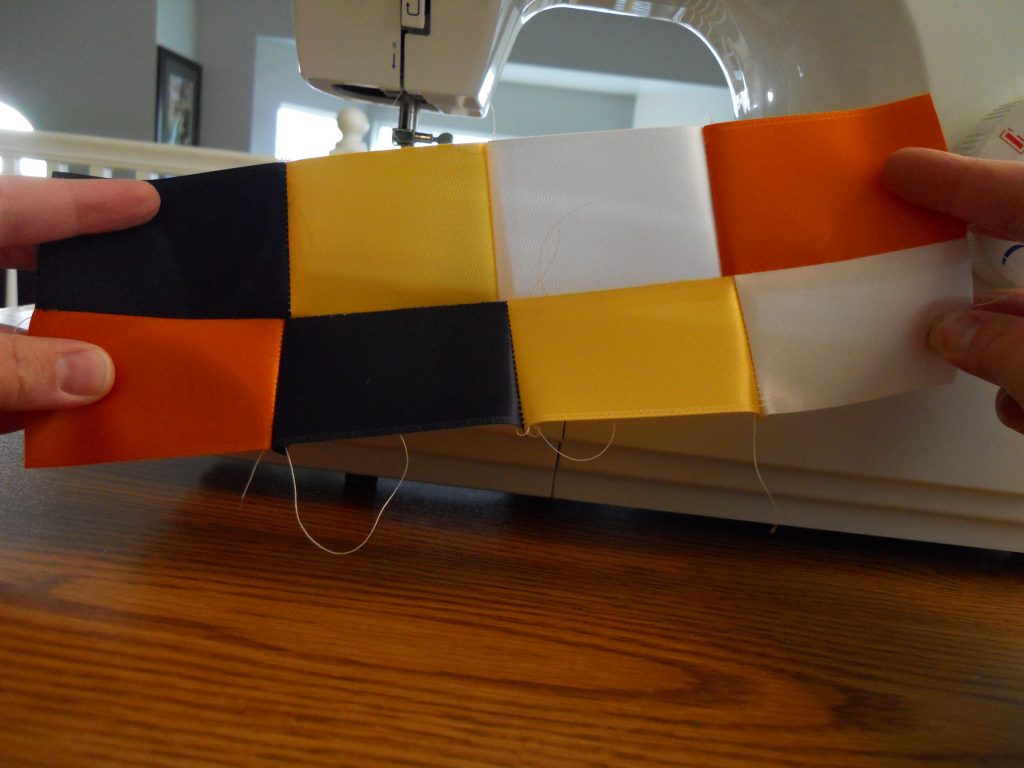
Between each finished row, lay your ribbons down as flat as possible, and double check that your pattern is correct. Keep repeating these steps until all of your ribbons are sewn together into a “quilted” look. Double check your pattern that it stayed the same as your layout! If something looks wrong, take a moment to fix it.
Step Six: The finishing touches
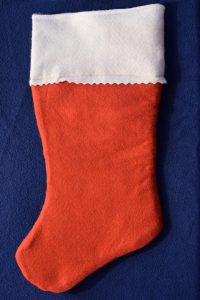
Now that you have that done, it is time to add in the rest of your stocking. You can use a pattern to form your stocking shape or use a premade piece. Again, we got our felt stocking from a dollar store. We disassembled the stocking and laid out the pieces to go with the finished ribbon pattern. Make sure to match front with front so that the right sides will show when you sew it together. You will need to make sure that all of the stocking’s edges are covered with the ribbon.
We then pinned all of the pieces together (wrong side out) before sewing to make sure that they did not slip away from the placement. Again, we used a simple, straight stitch and followed the premade stocking’s edge to get the correct shape. Once you have sewn the felt pieces to the ribbon, turn everything right side out. Double check that your shape is correct as now is the time to make any necessary adjustments.
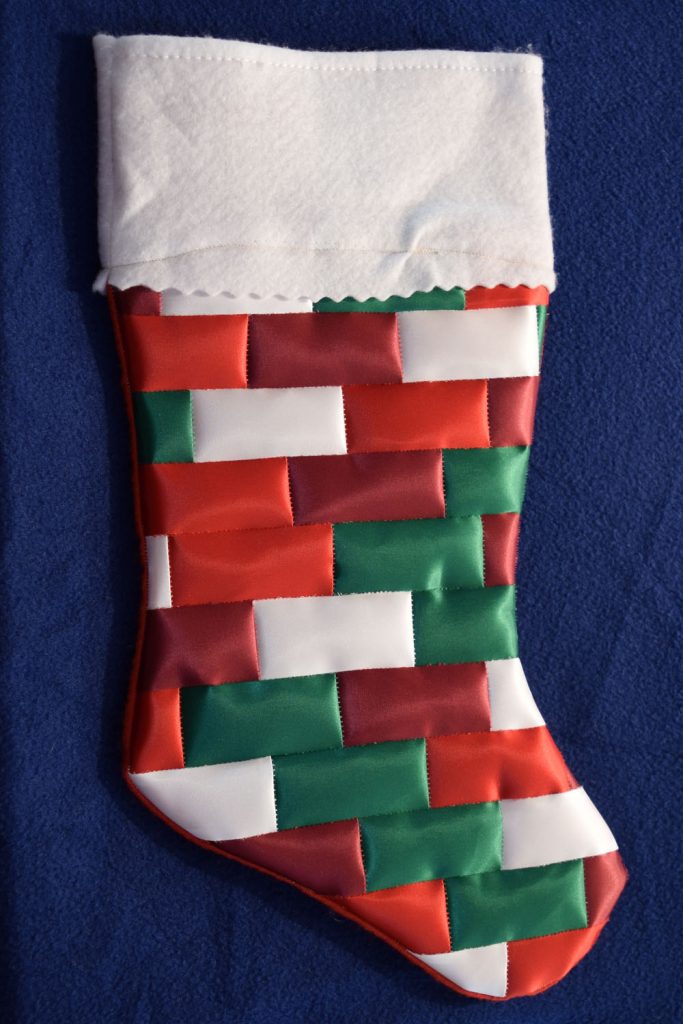
Now that you have sewn these pieces together, you can attach the top and decide if you are including a hanger. Then we pinned the top (right sides out) of the stocking onto the ribbon portion and ran a simple, straight stitch to connect the pieces. Once this is done, double check that everything looks good, and you are done!
Congratulations, you have just completed a Christmas stocking made from badge ribbons.

One thought on “Ribbon Stockings DIY for the Holidays”
Comments are closed.